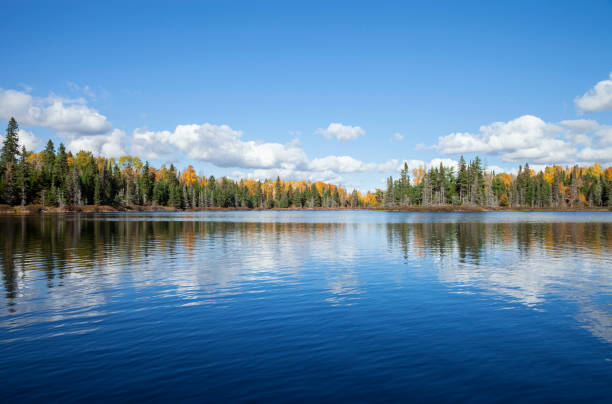


If you’ve ever wondered how to capture those stunning nature photos drenched in warm, glowing light, the answer is simple: it’s all about golden hour. That magical time just after sunrise or right before sunset delivers the best lighting conditions for outdoor photography.
But knowing when golden hour happens isn’t enough—you need the right approach to take full advantage of it. In this guide, I’ll share my top golden hour photography tips to help you capture breathtaking landscapes and nature scenes in the most beautiful light of the day.
Golden hour is the period shortly after sunrise or before sunset when the sun is low in the sky. During this time, natural light takes on a warm, golden hue, with long shadows and soft highlights. It's widely regarded as the best light for outdoor photos, whether you're shooting landscapes, portraits, or wildlife.
Why does it look so good? As sunlight travels through more of the atmosphere, it scatters shorter blue wavelengths and leaves behind the reds, oranges, and yellows. The result: rich, cinematic tones and flattering light.
Timing is everything. Use apps like PhotoPills or The Photographer’s Ephemeris to pinpoint exactly when golden hour starts and ends in your location. Typically, you’ll have about 30–60 minutes of optimal light, so give yourself a head start by arriving early.
Scouting your location in advance is a game-changer. Knowing where the sun will rise or set helps you frame your shots and avoid scrambling when the light starts changing.
To master how to photograph golden hour, start with these key camera settings:
Always shoot in Raw to retain full dynamic range. It’ll give you more flexibility when editing highlights, shadows, and white balance in post.
During golden hour, the light is your subject. Look for how it interacts with the landscape—backlighting leaves, creating glowing edges around trees, or casting long shadows that lead the eye through the frame.
Try shooting into the sun for a more dramatic effect. Use a small aperture (f/16) to get that classic sunstar look, and partially block the sun behind an object to reduce lens flare.
Don’t stay locked into one angle—move around. Some of the best golden hour photos happen when you turn 180 degrees and see how the warm light paints your surroundings in unexpected ways.
Here’s a golden hour trick most beginners miss: stick around after the sun goes down. The 10–15 minutes after sunset often produce vibrant colors—pinks, purples, deep oranges—that transform a good shot into a great one.
This time, often called blue hour, adds cool tones that contrast beautifully with the golden tones you captured earlier.
Golden hour photography is more than just a trend—it’s a proven way to elevate your outdoor images. With a little planning, the right camera settings, and an eye for how light shapes the landscape, you can consistently capture breathtaking nature photos during this golden window of time.
Whether you're photographing mountains, forests, coastlines, or your local park, remember this: chasing the light isn’t just about finding it—it’s about learning to see it.
And once you do, you’ll never want to shoot in midday sun again.


