


April 18, 2023
One of the most important and misunderstood parts of electronics is easily transducers, and more specifically how it relates to placement on the back of or under the boat. I often receive questions about what settings anglers need to implement to return pictures like what I see, the truth is its in the transducer placement, angle and height. If it is in the wrong place, no setting is correct.
Look for areas that will have the least amount of “dirty water” from turbulence created by anything in the water such as hull chine and strakes, kicker motors, rivet lines, etc. Generally speaking, it is best to use basic compact transducers for 2D marking, particularly at higher speeds. Look to mount these as low and away from the engine’s turbulence as possible.

Larger side-imaging transducers are meant to be used at speeds from roughly 1 to 5 mph and can be placed higher on the hull, enough so that they are actually out of the water when on plane. This will protect them from hitting things while running and creating damage and create less disturbance in the water for a more accurate 2D reading.
Humminbird has a product called a Y cable that allows two transducers to be run into one cable and ultimately one unit, so that both can be used without changing transducers. The Y cable always uses the 2D from the basic transducer so it does not interfere with what would be the 2D in the Mega Side or Down Imaging transducer.
Once secured and on the water, make sure to take extra time to tweak both the transducers’ height and angle. It is important to remember that you want the transducer flat not in the garage, but at the speed and angle that your boat will be traveling at when attempting to mark fish. Slight adjustments to transducer height and angle will drastically improve your sonar screen’s clarity.

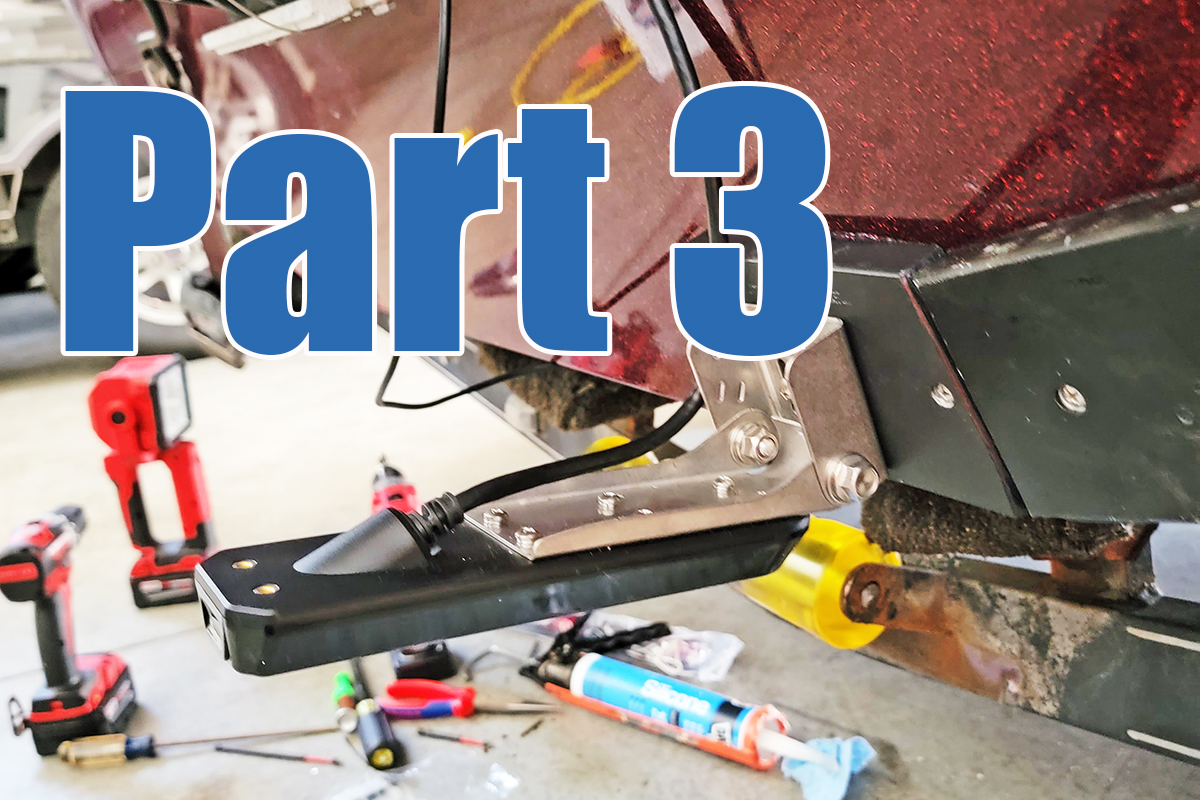
In many boats, available space can be very limited, and it may be best to use a transducer board so that a transducer can be moved several times when searching for the best location. This allows for much fewer holes to be drilled in the boat. Make sure to mount a transducer board roughly 3/8 of an inch above the bottom of the hull so the force from water can’t pry it off. Before installing, it can be beneficial to use a multi tool or something similar to score grooves in the back of the transducer board so that adhesive has some place to go and allow for a better seal without gushing out the sides as much.


Areas around the drain plug or drains often require modifying a transducer board. This can be very beneficial, as it will allow you to flush-mount a transducer in an area that otherwise would not have enough surface area to mount a transducer. A scroll saw is helpful, but not necessary, to help make unique cuts to follow these distinct contours. A simple carboard template will save time and make for a better fitting piece.


When actually attaching the transducers to the board make sure to use screws that will not penetrate past the board itself and into the boat’s transom. Something as simple as an extra washer on a 3/4-inch screw will ensure that the screw doesn’t penetrate beyond the typical 3/4-inch thick transducer board.
Transducers are your eyes under the water and time should be spent to make sure you are getting the most out of your electronics.
Capt. Ross Robertson
