


March 23, 2023
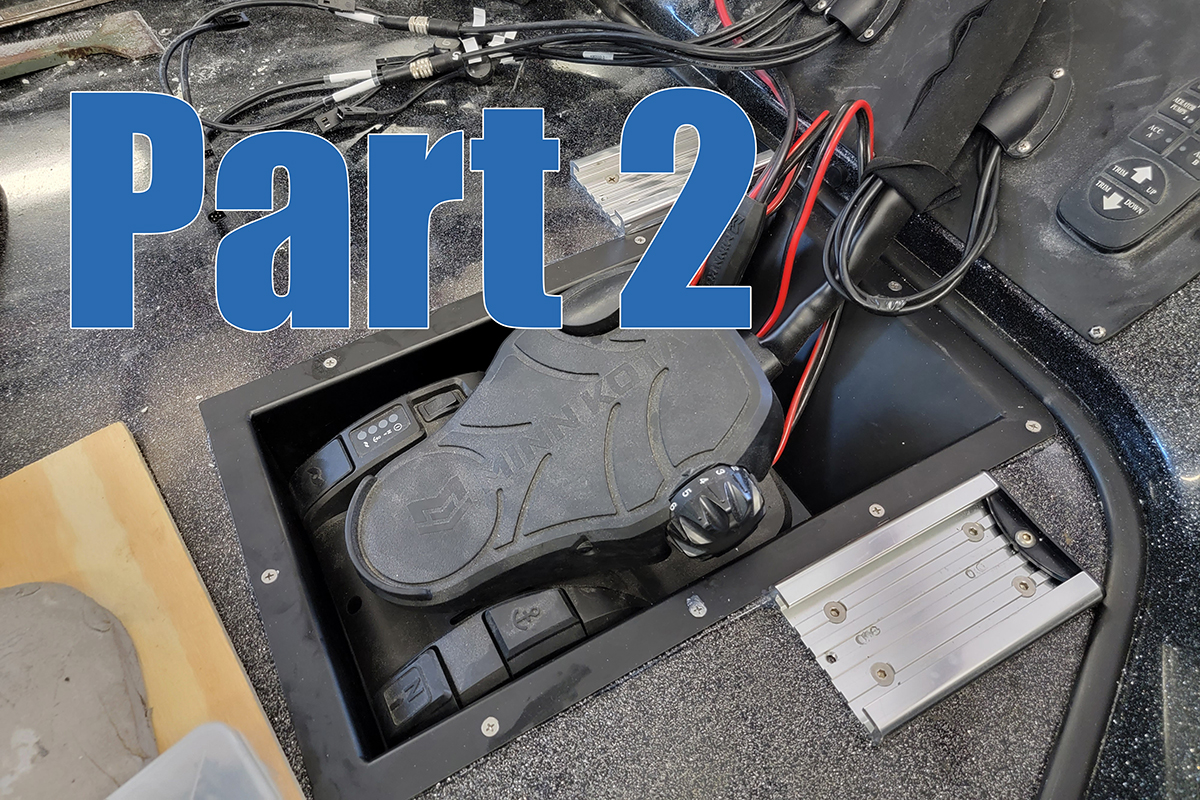
A majority of bass boats have some type of recessed area for the trolling motor foot pedal. For whatever reason, many multi-species boats do not have this feature. On the 20-year-old project boat, it became clear very quickly that this boat’s front deck was much smaller than what I was used to. Plus, when this boat was originally manufactured, anglers weren’t using multiple large-screen electronics.
The decision was easy to add a recessed foot-pedal tray as it would add more space on the top of the front deck—plus it adds comfort and ease of use—works on larger boats, too. To me, without this accessory, running the trolling motor is kind of like putting a big ole wallet in your back pocket and then sitting on it. The lowered platform is easier on your back and balance.


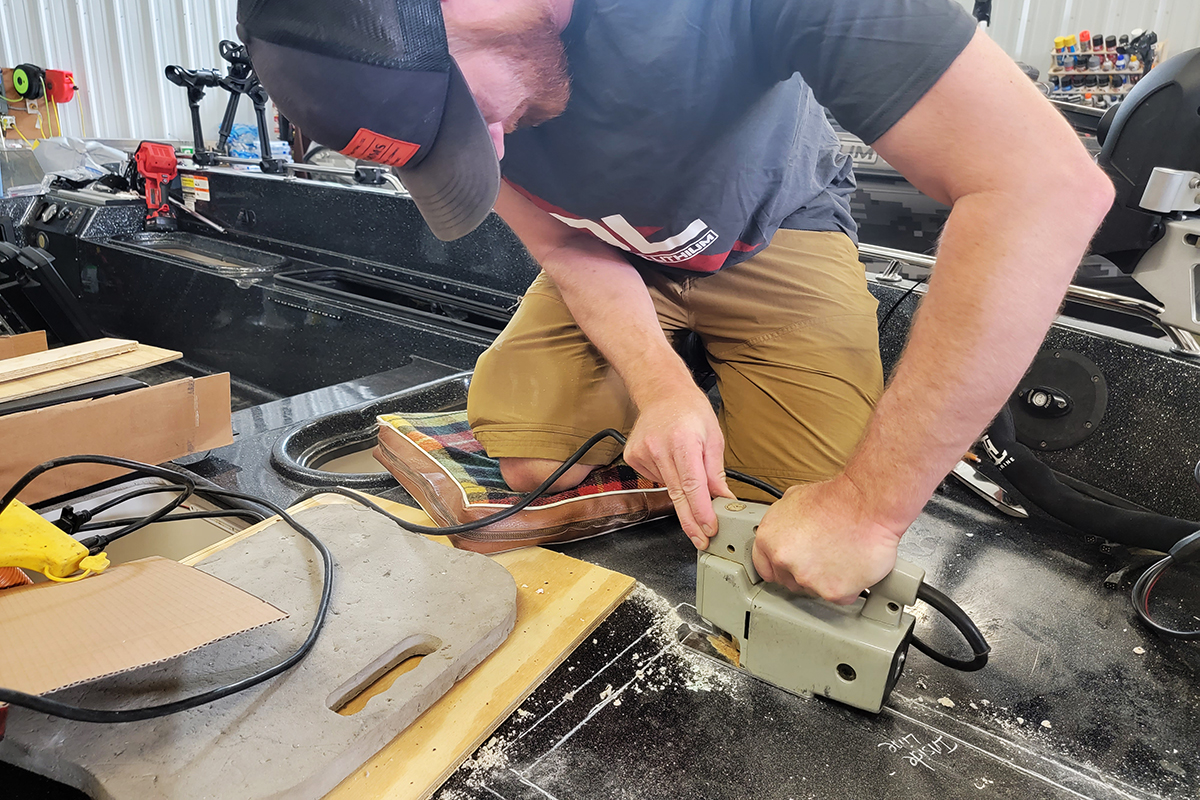
While I’m no stranger to drilling holes in boats, I had no experience with installing foot pedal trays, or for that matter cutting a giant hole into the deck of a fiberglass boat. If there ever was a time to measure three times and cut once, this was it.
Start by turning the tray upside down so you can see the full foot print of space that will be needed. Next, open every access point that is in close proximity to the mounting area and check to see what’s below. I decided to offset the tray to accommodate my style of driving a bow-mount trolling motor—I typically using my right foot. If you do the same, don’t go too far outside of center. Even with careful planning and measuring, I was still too close for comfort to the rigging tubes that extended from a nearby compartment. While the tray I purchased claimed it came with a template, it did not. I made a simple version from carboard as another precautionary step to make sure nothing was missed and the layout was just right.

After marking the cutting area from the template, the next step was to drill a hole in each corner to make it easier to not overcut the exact mark. I used a jigsaw and an oscillating tool to cut the hole accurately. Ranger boats are completely foam filled and even though the panel was cut free, it was still attached solidly due to the foam. Cutting an access hole in the center of the panel I was removing was meant to not damage any of the boat’s deck, which allowed me to insert a pry bar in and quickly pop out the piece.
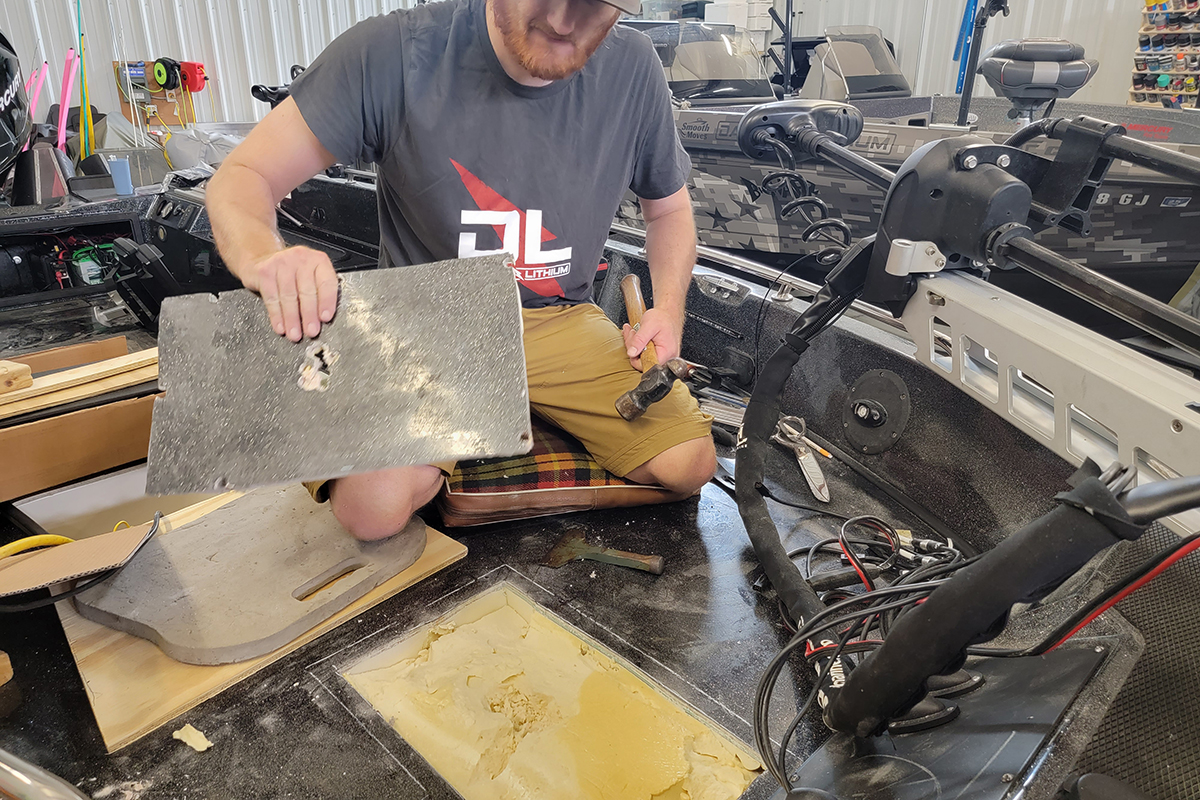

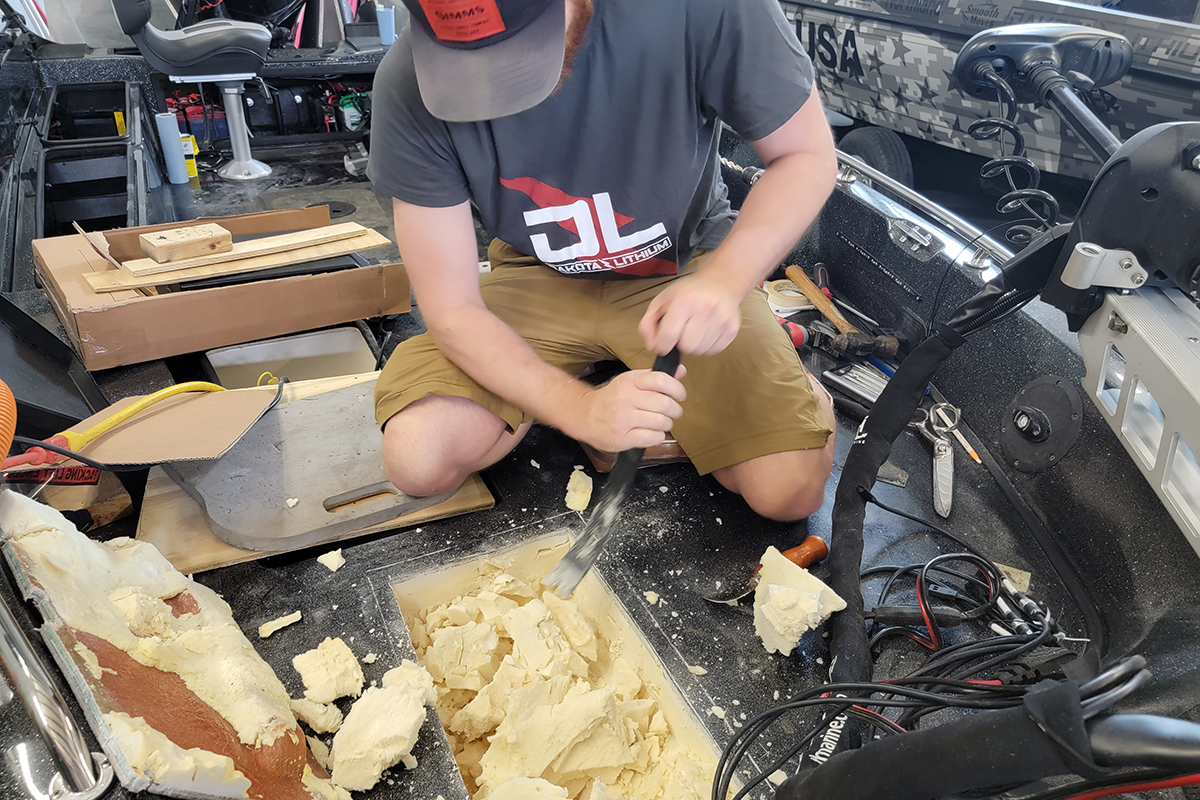
Next, a carpet cutter, pry bar, chisel and razor knife all played a part in removing the foam so the tray could lay flush. The tray that was purchased came standard with a weep hole in it to accommodate a drain tube of some sort, which needed to prevent water from running into unwanted areas. I would suggest purchasing a tray that has that hardware included, as it was time-consuming and expensive to find a flush mounted drain to fit the tray. Using the same tools, an additional channel was cut out for the drain tube to fit into and ultimately run water towards the bilge.
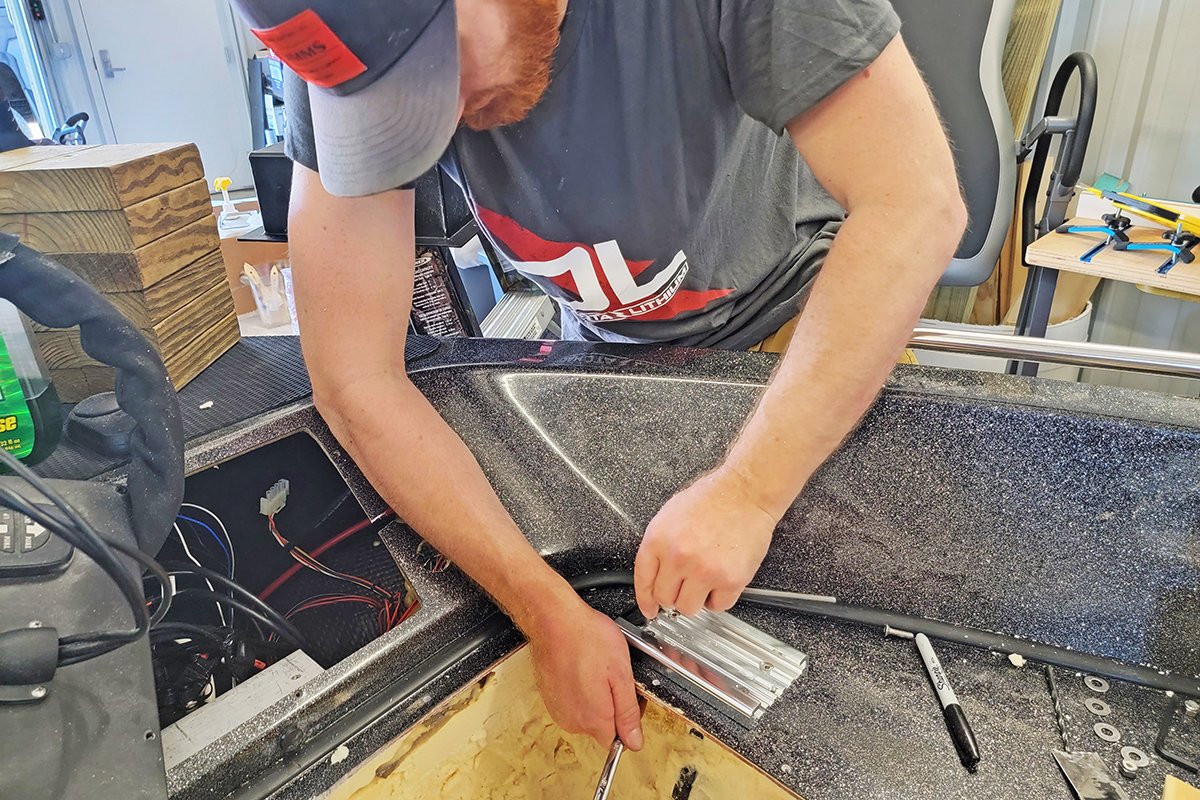
Before securing the tray, I took advantage of the wide-open workspace and removed some additional foam on side of the tray in order to add a through-bolt for a mounting backing plate for my electronics mounts. The use of Bert’s Custom Tackle 6-inch track makes for a clean flush look that is very durable, secure and makes it easy to remove the units.

Once the electronics mounts were installed, I simply dry fit everything to make sure that the drain hose and channel worked properly. The final step was to secure the tray with a bead of silicone and screws.

This project, by most standards was a simple one, but as a newbie when it comes to installing a foot-pedal tray, and with so many unknowns, it took more time and calculations to make sure no large mistakes were made.
Capt. Ross Robertson
