


Some people use their RVs to disconnect from technology and connect with nature. However, there are many situations where having access to a television can be helpful.
Unfortunately, the materials inside your camper’s walls are very different than those in a typical home. Luckily, while mounting a TV in an RV can require some adjustments, it’s much easier than you might think.
Today, we’ll walk you through the steps and a few things to keep in mind while you’re tackling this DIY project.
Let’s get going!
Yes, it is possible to mount a TV in an RV. Nowadays, it’s not uncommon for manufacturers to install at least one TV in most units. Despite this, if you’re looking at some of the smaller and more compact models, there’s a chance it might not.
Additionally, while your camper may come with a TV pre-installed, it may not be in an ideal location. Unfortunately, because the materials used during construction are lightweight, they’re not the strongest. As a result, unlike a typical sticks-and-bricks house, it’s not safe or wise to mount a TV just anywhere in an RV.
Mounting your television in an incompatible location will likely damage the wall and television. Even the most minor bumps in the road could cause it to come crashing down. This isn’t the surprise you want to find when you step inside your camper.
Pro Tip: Before running off to purchase a mount, be sure to check out the 5 Best Locking TV Mounts for your RV!
Before you start mounting a TV in an RV, there are several essential things to consider. Thinking through each of these will help ensure you get the results you’re hoping for.
One of the most important things to consider when mounting a TV in an RV is where you’ll mount it. As mentioned, the materials used to construct RV walls are generally of lower quality than those used in a typical home. As a result, you must place your mount in an approved location.
Manufacturers help RVers by placing stickers where it’s safe to mount a TV. You should only mount a television in one of these areas. They’re often reinforced with metal backing materials to help ensure you don’t experience a disaster during your adventures.
On the other hand, just because there’s a sticker in a specific location doesn’t mean that’s exactly the location of the supports. Workers often slap the stickers on in a hurry during assembly. Luckily, placing magnets on the wall can help pinpoint the corners of the metal plates. You’ll then be able to ensure your mount is safely in the center of the materials and will stay in place.
While you may want a massive TV inside your camper, it’s not always possible. Due to the limited space, you may have to make some sacrifices regarding screen size. Grab a tape measure and measure where you want to mount your future television. Again, remember that you should only consider areas designed to hold the weight of a TV.
It’s also important to remember that manufacturers measure televisions from the bottom left to the top right corners. Grab some cardboard boxes and create a template of the largest television you’re considering. This can give you a more realistic understanding of how it will look hanging on the wall or if it’ll be too big.
One of the biggest mistakes RVers make when mounting their televisions is forgetting to consider the structure of their RV. The hardware that comes with most TV mounts typically isn’t compatible with recreational vehicle walls.
Interior and exterior walls in a camper are generally between 2” and 2.5” thick. If you’re not careful, this can result in a giant hole in the side of your rig. This can be a costly mistake and severely complicate this project. Unfortunately, a fellow RVer learned this lesson the hard way.
No matter how large the television is, it will require power. As a result, you’ll want to consider this when choosing your mounting location. Luckily, manufacturers typically place electrical outlets near approved mounting locations. Unfortunately, unless you’ve upgraded your electrical system, you’ll likely only be able to use your television when connected to shore power.
Luckily, using a portable generator or installing an inverter can allow you to binge-watch your favorite show or tune into the big game. While this can take some work and planning, it can be worth it.

The viewing height and angle are easy to overlook when mounting a TV in an RV or home. Place your screen too high, and you’ll end up with a stiff neck while trying to enjoy your favorite programs. If you’ve ever sat in the front row at the movie theater, you know how uncomfortable this can be.
Additionally, consider where you’ll be sitting while watching TV. A fixed mount won’t allow you to adjust or move the TV away from the wall. Typically, you’ll want a full motion or tilt mount in these situations. These are great options and can help ensure everyone has an optimal view.
Ready to mount a TV in your RV? Luckily, you can do this simple DIY project in less than an hour, but be sure to take your time getting it done. These projects are best when you don’t rush and do it right the first time.
The first thing to do when you’re ready to get started is to gather all your tools and supplies. When selecting your mount, you’ll want to ensure it’s compatible and sized for your TV. It will likely come with the hardware to connect it to your TV.
Remember that the bolts and screws to secure the mount to the wall may be too long. Plan a trip to the local hardware store to get some #10 or #12 screws, which are 1” long. This will help keep your mount in place without causing damage to your camper.
In addition to the mount and hardware, you’ll need a few tools. These include a power drill, a level, and measuring tape. Additionally, having a pencil on hand is a good idea to mark the location to get your mount in the right spot.
The next step is to choose where you’ll mount your TV. Remember, you can’t just mount it anywhere you want. We mentioned earlier that manufacturers often place stickers in these locations. It may be a simple picture or read “TV backer location.”
Again, we cannot understate how important it is that you only secure it to these locations. When in doubt, reach out to the manufacturer of your RV. They’ll likely be able to provide you with information to help point you in the right direction. It’s better to be safe than sorry in these situations.

Once you’ve found the proper location, you’ll want to place the mount against the wall. Use a level to ensure you get it as straight as possible. Use a pencil to mark the spots where you’ll be drilling the screws into the wall.
We recommend using an appropriately sized drill bit to create pilot holes where you’ve marked. The drill bit you use should be slightly smaller than the screws you’ll be using. This helps ensure the screws go in straight, reduces the chances of damage, and makes it easier.
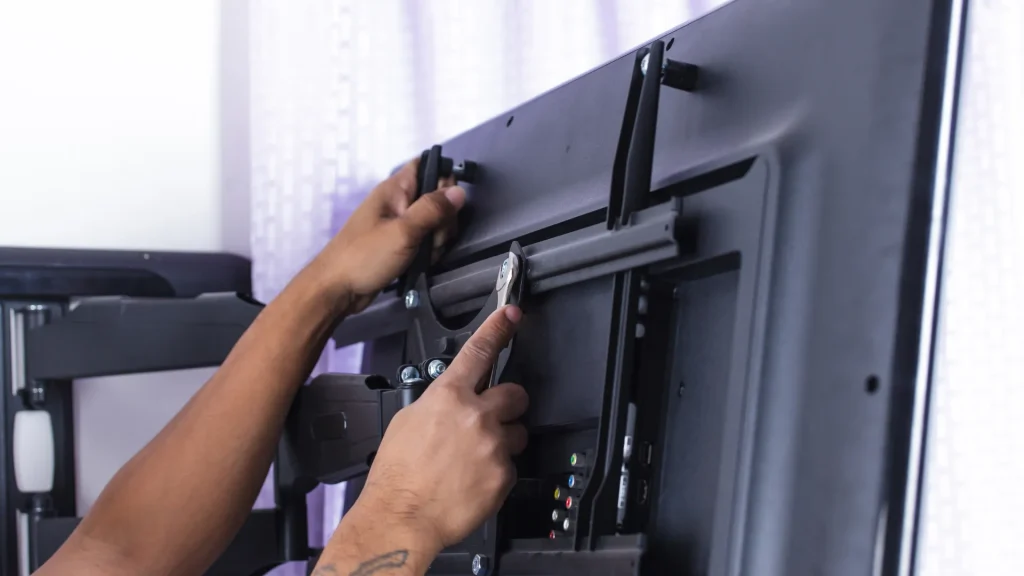
With the pilot holes drilled, it’s time to install the mount. While individuals can complete this by themselves, having an extra set of hands can be beneficial. Hold the mounting plate in place and start fastening the screws to the wall.
It’s best to get all of them started before tightening them down. Using a level multiple times during this process is a good idea. You should get the TV as level as possible. While you can make minor adjustments later, doing it right from the start is best.
Now that the mounting plate is on the wall, it’s time to connect the mount to your TV. The mounts typically come with a combination of hardware and spacers to allow them to be versatile. The spacers can allow you to use longer screws and create space so you can still access inputs for devices.
Once you’ve attached the mount to the TV, it’s time to connect the mount to the mounting plate. This will vary considerably based on the type of mount you choose. Fixed and tilt mounts typically use hooks and clips to keep everything in place. In contrast, full-motion mounts use a series of bolts and arms that are adjustable. Follow the instructions for your specific mount.
After attaching your TV to the mount and getting everything in place, you’ll want to check stability. There should be little to no movement since everything is tight. If you notice something that feels loose, get to the bottom of it. Something loose now will only get worse as your rig vibrates and navigates the bumps in the road.
After confirming that everything is working and stable, it’s time to organize all the cables. This is especially important if you’re connecting devices to your TV. Unorganized cables and power cords make a space look and feel cluttered.
Using velcro cable ties is an easy way to keep everything looking tidy. They’re cheap and effective, but they also make it easy to add or remove other devices. All you need to do is roll up the excess cable and secure it with these strips.

- HEAVY DUTY CABLE TIES – Strong, trusted, and used by data and network centers across the globe; These reusable cable…
- ALTERNATIVE TO ZIP TIES: Eliminate the waste of traditional zip ties, VELCRO Brand reusable cable ties can be used and…
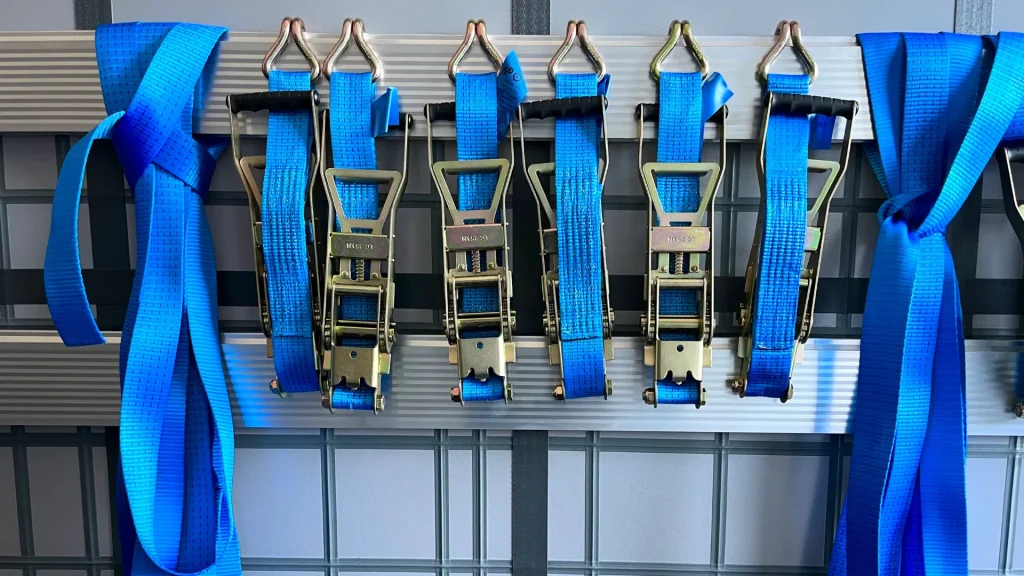
Depending on the mount type and your situation, you may need to secure your TV for travel. If you have a full-motion mount, check and see if it has a locking feature. This will prevent it from accidentally opening while traveling, which could cause damage to your TV or RV.
For those mounts without locks, you can use velcro strips or a strap to prevent the mount from opening. In addition, make sure the bolts aren’t so loose that it’s too easy for the TV to open and close.
Whether you plan to watch the big game or have a movie night, having a TV in your RV can be crucial. In addition to entertainment, a television can be a great way to stay aware of weather emergencies. Most campers come with antennas that you can connect to and receive over-the-air channels broadcasted in the area.
Have you mounted a TV in your RV?
