


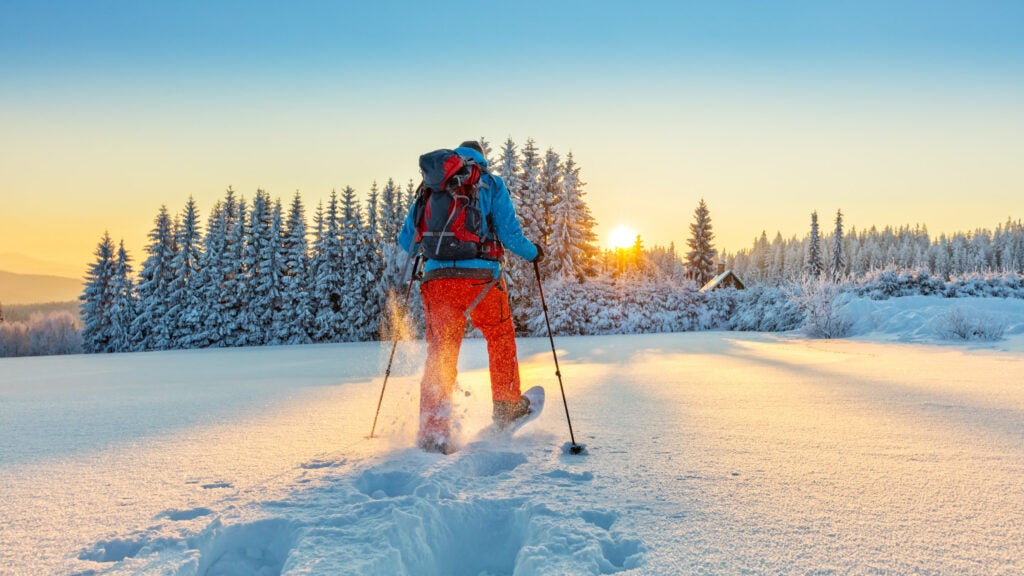
That quiet, snow-covered trail might look enticing from your car window. It may even feel enticing for, say, the first 10 to 15 steps. You’ll prance through the powder, spellbound by the beauty of the winter morning. But then, at some point, your rational brain will come back online. This may happen when you suddenly find yourself drenched in sweat, or when your hiking partner begins to get grumpy. If you’re less lucky, it will happen when you’re crotch-deep in powder and realize you have no idea which way the car is.
Winter hiking is hard work, and it’s easy to get in over your head if you don’t know what you’re doing. Fortunately, the right gear and techniques can make a world of difference. Here’s how to navigate snowy terrain with efficiency, savvy, and style.
Traveling through snow is incredibly taxing. In fact, some researchers estimate that you burn up to 34 percent more energy hiking in winter than in summer. So, if you’re new to snow hiking, start small. A good general guideline is to choose a trail that’s half the distance of a comfortable summer dayhike. For example, if you’re used to hiking about 10 miles over the course of a full day in the summertime, choose a winter trail that’s no more than 5 miles in length. If the snow is fresh, choose an out-and-back hike rather than a loop hike. That way, you’ll only have to break trail half the time.
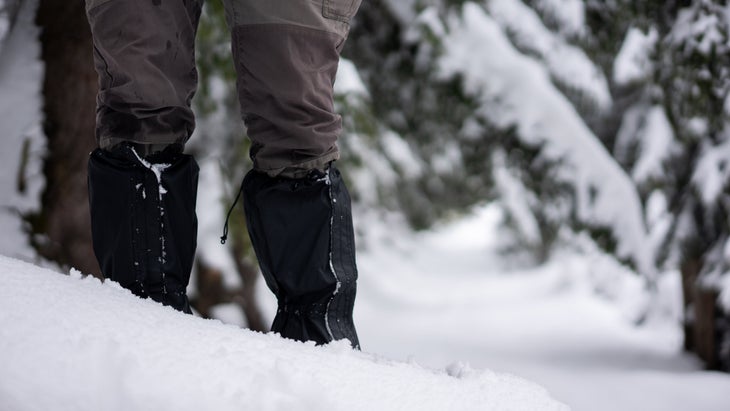
Efficient snow travel starts with having the right gear. Bring the wrong kit, and you could end up floundering in loose powder or busting your keister on black ice. Bring the proper equipment, however, and you’ll be able to glide effortlessly along.
Hiking boots: For just one to four inches of fresh snow, your hiking boots should be sufficient. Just make sure the soles have deep, cleat-like lugs, which provide extra grip.
Snowshoes: Snowshoes are a must-have when there are more than four inches of snow on the ground. They’re inexpensive to rent, nimble in tight trees, and easy to learn how to use.
Chains: This is the most basic type of underfoot traction, a latticed net of chains attached to a stretchy loop that snaps in place around your shoe. Chains are ideal for slick or packed snow. (Think: a shady trail that doesn’t get much sun or a popular trail a few days after a snow storm.)
Mini-spikes: Mini-spikes are chains equipped with small, angular spikes. They provide extra grip in icy terrain. If there’s been a recent rain or thaw followed by freezing temperatures, ice is likely; bring mini-spikes. These are also ideal for steep, hilly trails where you don’t want to take any chances.
Crampons: Crampons are often required for advanced winter terrain. If you’re breaking out the crampons, though, keep in mind that you may also need an ice axe and some avalanche safety know-how. Aluminum crampons are generally best for steep snow slopes, couloirs, and traverses with no-fall zones. Steel crampons are best for vertical and near-vertical ice.
Once you’ve chosen your trail and traction, practice these basic movement techniques.
In deep snow: If you don’t have flotation, you’ll likely end up “postholing,” i.e., plunging through the snow surface up your ankle, knee, or hip. Postholing is always difficult, but these tips can make it easier:
Going uphill: First, make sure you have the right traction for the terrain. Then, use these tips to set a smooth, sustainable pace.
Going downhill: Welcome to the best part of snow travel. Here are three ways to descend safely
and efficiently.
From 2023
