


For some, winter is ski season. But for me, winter has become sewing season. When it’s wet and cold outside and I don’t feel like hiking as much, I pull out patterns and projects I spent all year collecting. I’ve made pants and tops, pouches and bags, and I’ve fixed my own gear with simple patch and hem jobs. Hunched over my sewing machine, assembling pieces stitch by stitch, I enter a flow state that’s similar to my mindset on the trail: focused, persistent, and present in the moment—except instead of looking out for roots that I could trip over, I’m making sure I don’t stab myself with a pin.
If you need a few projects to keep you busy during the hiking off-season, spend your days sewing gear you can use on the trail once the weather perks up. Below, I’ve mapped out six beginner projects—three repair ideas and three DIY patterns—that you can tackle in a few weekends with a needle, thread, and most importantly, patience.
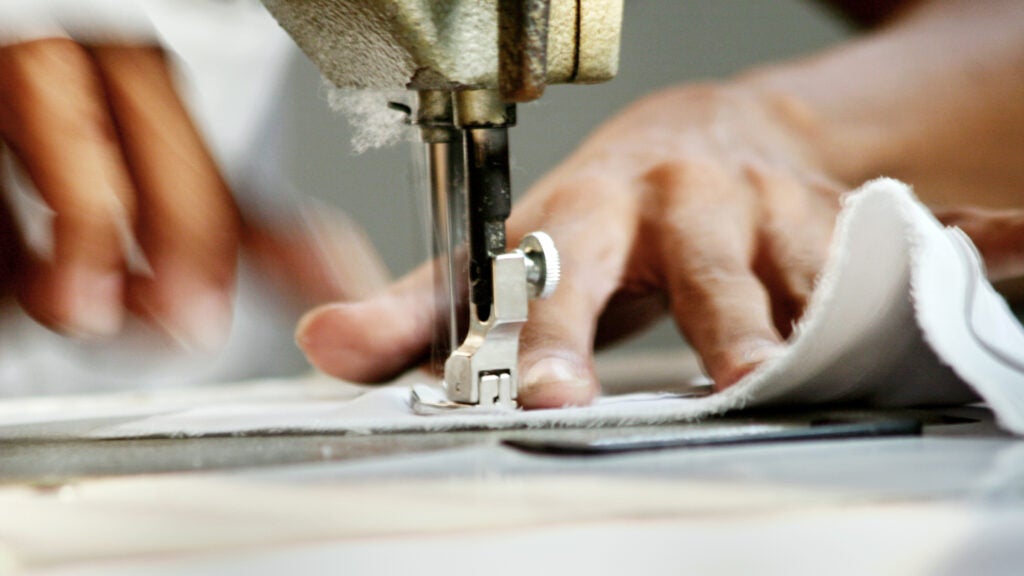
Before diving into a repair, warm up your sewing machine and muscles by practicing your stitches on some scratch fabric. Always remember that starting slow will ensure precision, you can use a seam ripper to remove stitches if you make a mistake, and that YouTube can help you troubleshoot issues with your model of machine. Pretty soon you’ll be a pro!
Hemming: Constantly rolling up your trousers? Want to turn pants into shorts? Hem ‘em. First, mark where you want your pants or shorts leg to end. Then cut an inch below your mark. Next, you’re going to encase the raw edge by making two upward folds. Fold a quarter inch from the edge and press with an iron. Then fold over three-quarters of an inch and press again so the hem aligns with your original mark. Carefully straight stitch with a machine as close to edge as possible.
Patching: A tear or hole doesn’t render your gear useless. All it needs is a patch. You can get pretty creative with how you cover the hole, but I like to add a square of any kind of scrap fabric—cotton is often most durable for apparel, but you can also use fabric that’s similar to the garment—in a contrasting color or pattern to give it some character. Simply pin the patch over the hole and sew around it. You can leave the patch’s edge raw, or you can fold it under before you stitch so it doesn’t fray.
Fixing zippers: This one is the trickiest repair out of the three, so I would recommend recruiting some expertise from repair experts at places like Madrona Wear in Bellingham, Washington, and Maine Gear Share in Brunswick, Maine. They can easily swap a fastener, pull, or full zipper for you, or give you some advice on doing it yourself.
Fanny Pack: Ripstop By The Roll has an ultralight hip belt sewing kit ($20), complete with laser cut fabrics, a zipper and other components, and a video tutorial to help you put it together. All you need are a few tools and a basic sewing machine. This project will teach you the basics you need to make an even bigger bag, like a backpack or a duffel.
Raglan Hoodie: Garments aren’t as tricky to construct as they may seem, especially when it’s an unfussy, oversized fit. This pullover pattern from LearnMYOG introduces you to sewing a hood, assembling sleeves to a bodice, and threading elastic cord through a channel. Start by matching your body’s measurements to the pattern’s measurements for the best sizing.
Baffled Quilt: Look forward to a summer of backpacking while you stitch yourself a baffled quilt following this tutorial, courtesy of Stitchback Gear. It teaches you how to create karo step baffles, a construction method that eliminates cold spots. Though the process may seem intimidating, work on it a little at a time to minimize frustration and therefore mistakes. The accomplishment will be worth your time and effort.
From 2023
